Using Network-manager (SSO)
Starting in June 2023, RIT has begun requiring all users of the RIT VPN to authenticate via RIT SSO, rather than the certificate-based method outlined below.
This should work on most systems and has been confirmed to prettu much just-work on an Ubuntu system with a GNOME desktop. See the Known Issues section for information on scenarios where this might not work.
Step 1: Set up connection
Install the package network-manager-openconnect from your system's package manager (it should be in at least the ubuntu repos). If you are on a GNOME desktop, you may want to use network-manager-openconnect-gnome instead. This adds openconnect (and anyconnect) options to network manager (if your system uses it).
Then go into network manager and create a new vpn profile.
Change the VPN protocol to "Cisco AnyConnect" and provide the gateway URL (vpn.rit.edu).
Step 2: Connect
In network manager, connect to the VPN. You should get a popup window like this:
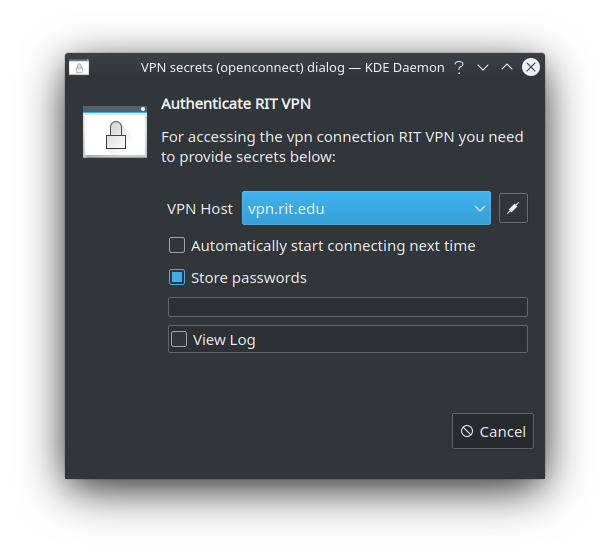
To continue connecting, click on the button to the right of the "VPN Host" Dropdown. You should be presented with a web browser window where you can login with RIT SSO.
Known Issues
On KDE/Plasma systems, you may see an error when trying to connect that says "No SSO handler". This is a known issue that traces back to plasma-nm and has been fixed in Plasma 6 (which is yet to be released at the time of writing).
It seems like it may be possible to backport the change made in this commit to previous versions of plasma-nm, however this is not yet confirmed to work.
Using Network-manager (Legacy Certificate Method)
These instructions are for network-manager specifically, but should be adaptable for any system
Step 1:
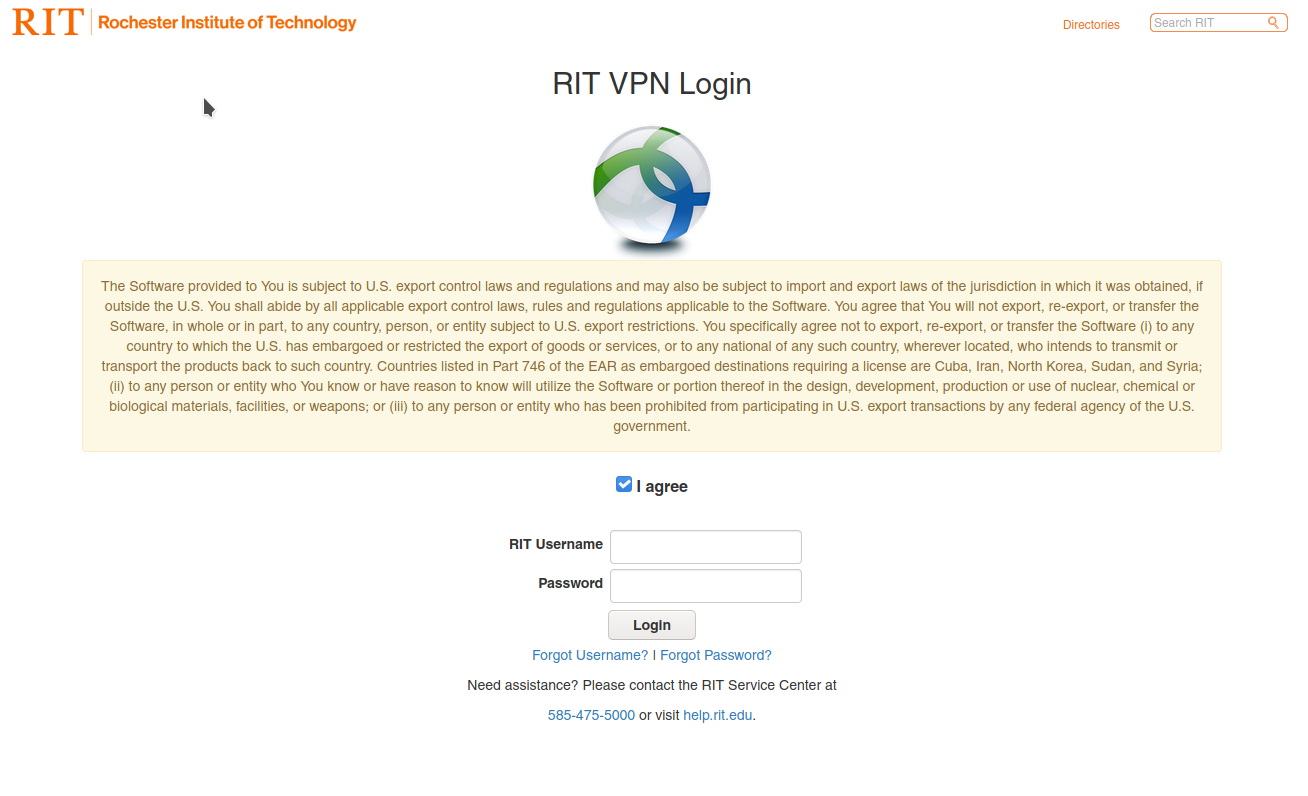
Navigate to https://vpn.rit.edu from a linux device and sign in
Step 2:
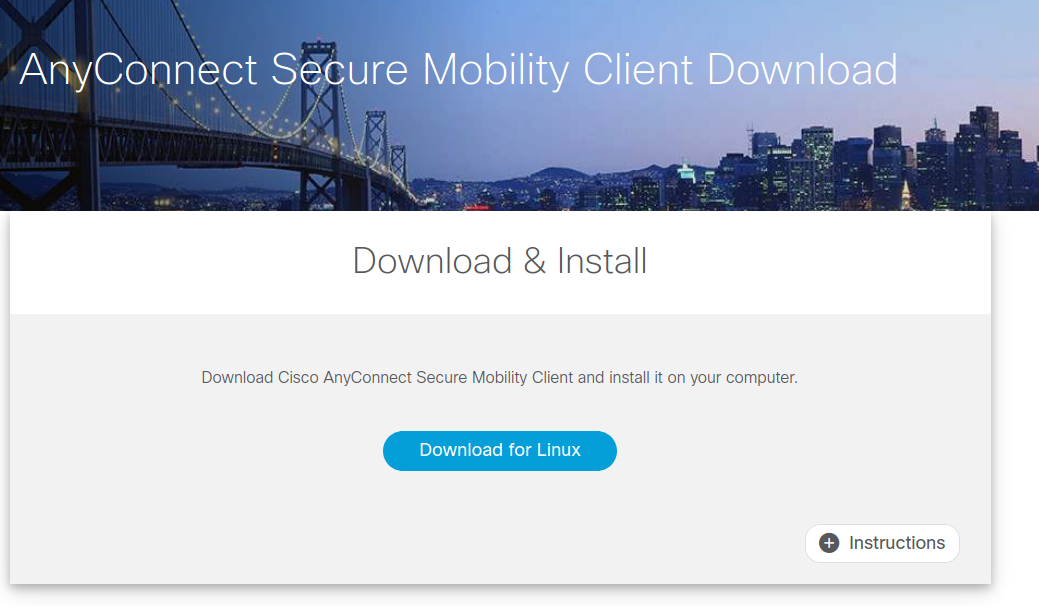
Click the button to download the anyconnect client for linux. You should get a roughly 5-6 megabyte .sh script file.
Step 3: Extract
This installer script contains an encoded tarball which makes up the bulk of the file. To extract it, use this script.
Step 4: Find the certificate
Locate and save the file named VeriSignClass3PublicPrimaryCertificationAuthority-G5.pem. You will need this to connect.
Step 5: Set up connection
Install the package network-manager-openconnect from your system's package manager (it should be in at least the ubuntu repos). This adds openconnect (and anyconnect) options to network manager (if your system uses it).
Then go into network manager and create a new vpn profile.

Change the VPN protocol to "Cisco AnyConnect" and provide the gateway URL (vpn.rit.edu) and certificate file from earlier, you shouldnt need to do anything else.
Step 6: Connect
In network manager, connect to the VPN. You should get a window like this:
To continue connecting, click on the button to the right of the "VPN Host" Dropdown. It may ask for your RIT credentials before connecting you to the VPN.